Claim a Receipt
The Loyalty platform can store purchase Receipts from Member transactions. If a Receipt is uploaded into the platform, but is not yet assigned to a Member, the Receipt will have a status of Unclaimed. From the Receipts tab of the Member Details screen, you can assign an unclaimed Receipt to the currently selected Member, which changes the Receipt status to Claimed.
To claim a Receipt from the Member Details screen:
-
Select Members from the top navigation bar, then select Members > Members from the side navigation menu. The Members screen is displayed.
-
On the Members screen, search for and select the desired Member (see Search for a Member for more information). The Member Details screen is displayed with the Metrics tab selected by default.
-
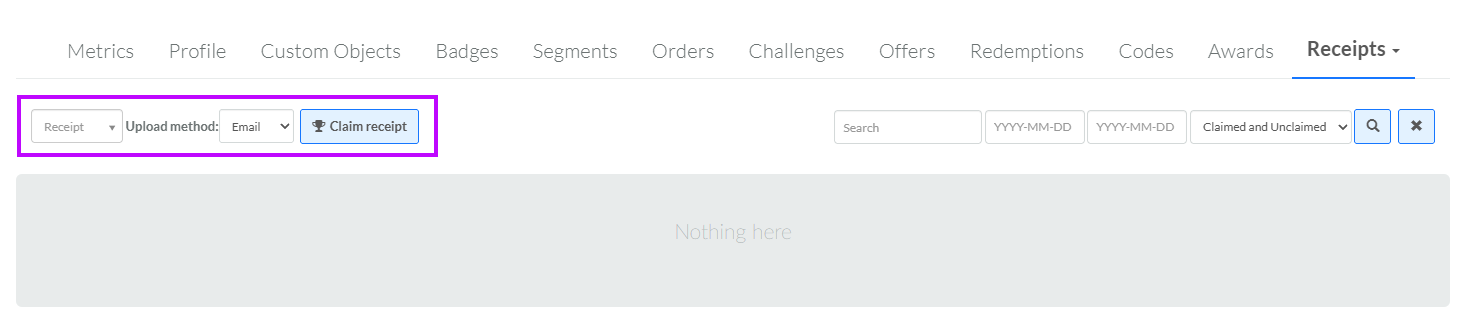
Select the Receipts tab.
-
From the drop-down menu, enter all or part of the Receipt Number (this value can be found on the Receipt Details screen). From the list of search results, select the desired Receipt.
-
From the Upload Method drop-down menu, select the upload method that was utilized for this Receipt.
-
Click Claim Receipt.